
How to Brew the Ultimate Cup of Coffee with the Aeropress: A Step-by-Step Guide and Recipe Variations
If you're in search of an exceptional and budget-friendly coffee maker that can consistently produce rich and flavorful coffee, your quest ends with the Aeropress! Invented by Alan Adler in 2005, the Aeropress brilliantly combines the strengths of two brewing methods - steeping and pressure - to craft a cup of coffee that's unparalleled in taste.
Beyond its affordability and portability, the Aeropress provides a canvas for coffee enthusiasts to explore a myriad of recipe options and techniques. In fact, it has spurred the creation of an international competition known as the World Aeropress Championships, where baristas from around the globe compete to discover the finest brewing methods.
While the Aeropress can deliver small yet robust coffee servings, it's important to note that it cannot replicate the high pressures generated by espresso machines. However, it's a perfect match for those who relish a robust cup of coffee without the complexities and costs associated with espresso machines. So, how can you harness the potential of the Aeropress? Two primary methods - traditional and inverted - are at your disposal. By tinkering with variables like grind size, brew time, and water quantity, you can craft a cup of coffee that aligns perfectly with your taste buds.
The Perfect Aeropress Cup: A Delicate Balancing Act
Achieving coffee perfection via the Aeropress involves meticulous considerations of grind size, brew time, and water quantity. Your choice of coffee type should serve as your foundation when determining the ideal ratio. For an assertive and bold flavor, begin with a 100g/I ratio and a finer grind. Coarser grinds, although acceptable for those seeking a quicker brew, necessitate extended brewing times. For a more conventional coffee experience akin to the French press, a 75g/I ratio is recommended, with brewing times adjusted according to your selected grind size.
The Traditional Method: Simplicity and Consistency
The traditional approach allows you to brew a slightly larger volume of coffee in comparison to the inverted method detailed below. It's also relatively straightforward and entails fewer chances for kitchen mishaps. With multiple variables influencing your final cup, the temptation to tweak several elements simultaneously may arise. However, it's advisable to modify one aspect at a time. This approach ensures that you can accurately gauge the effects of each adjustment, potentially leading to exciting coffee discoveries. Here's how you can master the traditional Aeropress method:
- Weigh and Grind
Begin by weighing your coffee and grinding it just before brewing.
- Filter Insertion
Insert a filter paper into the filter holder and secure it onto the Aeropress brewer.
- Rinse and Preheat
Heat the brewer and rinse the filter paper by running hot water through it.
- Scale Setup
Position the brewer atop a digital scale, place a mug beneath it, and add the ground coffee into the Aeropress.
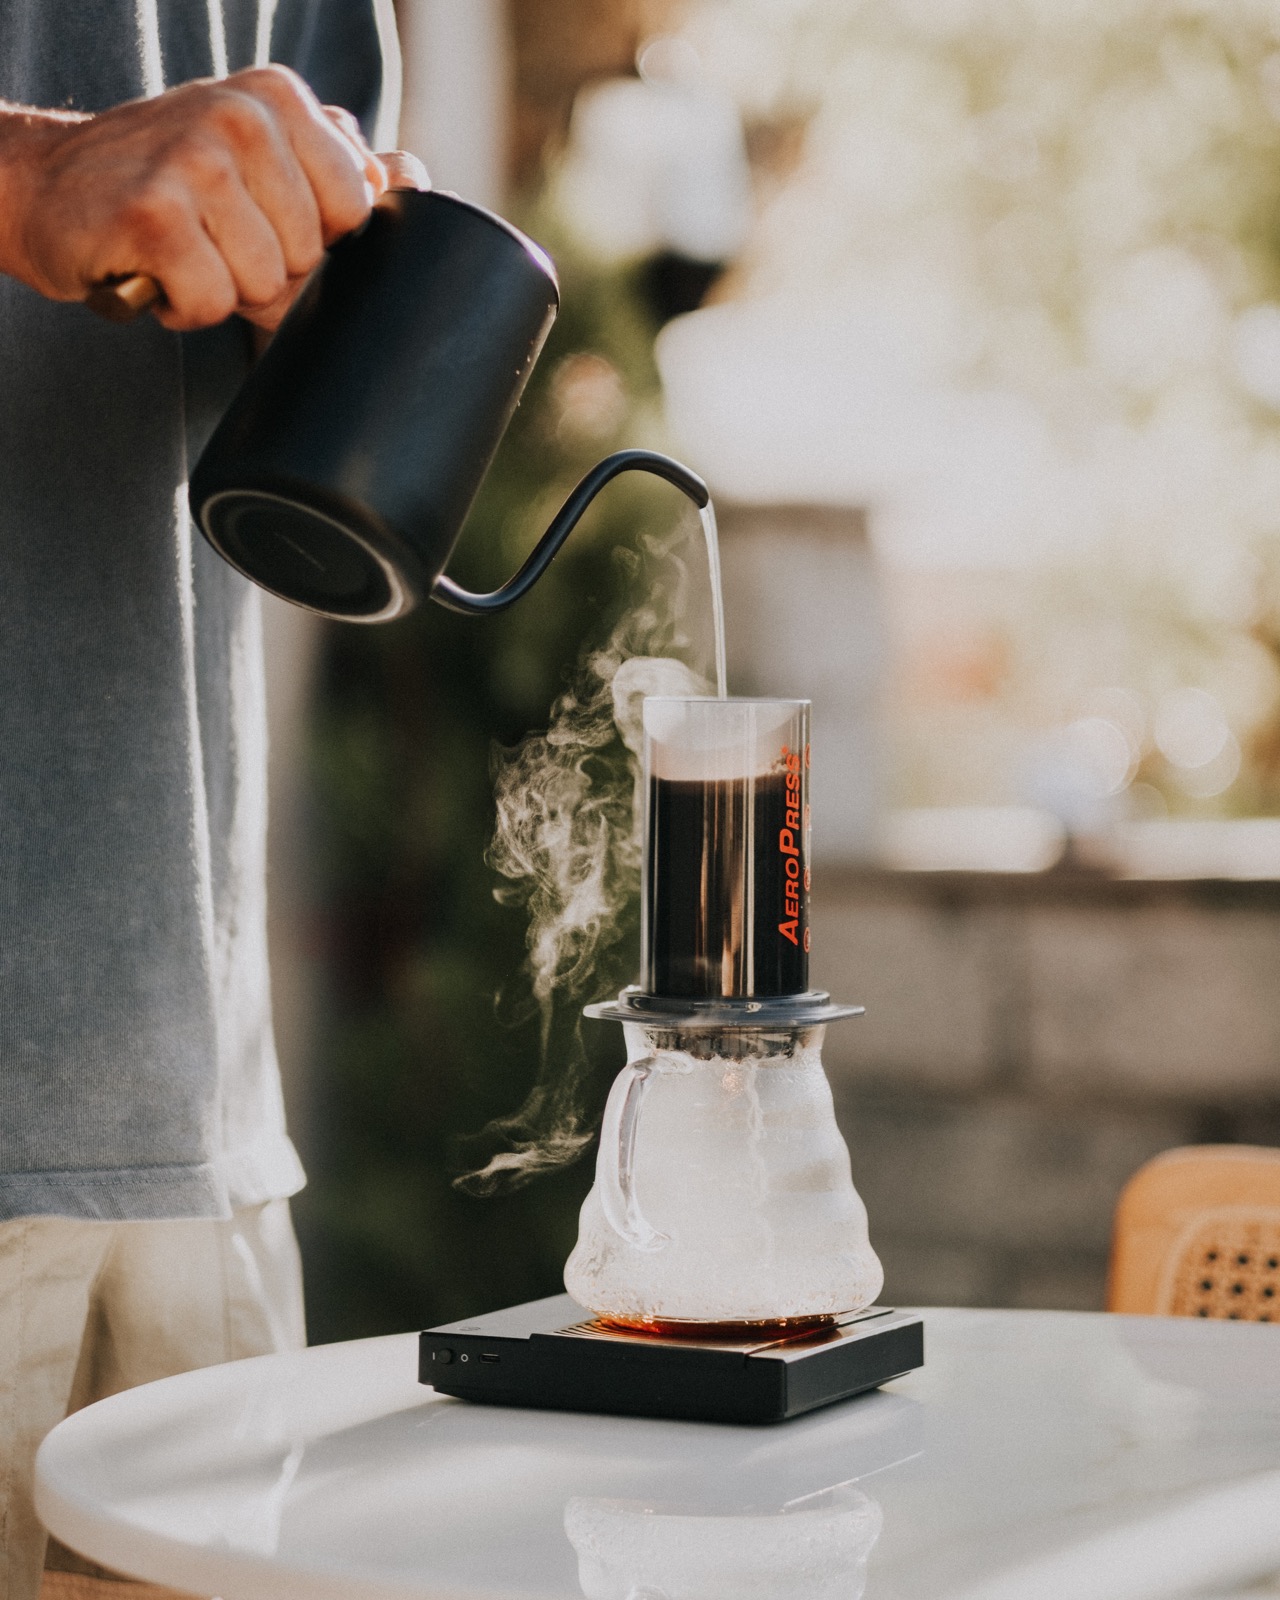
- Boiling Water
Boil fresh, low-mineral-content water suitable for coffee brewing. Allow it to cool for 10-20 seconds. Turn on the scale, add your desired water quantity to the Aeropress, and initiate your timer.
- Stir and Seal
Quickly stir the coffee, then securely place the piston on top, ensuring a proper seal without depressing it.
- Brew Time
Allow the coffee to steep for the desired duration (a minute is recommended).
- Plunge and Cleanup
Remove the mug and brewer from the scale. Gradually press down on the plunger until all the liquid is expelled. Slightly retract the piston to prevent drips, and discard the used coffee grounds by pushing the plunger over a waste bin. Swiftly rinse and clean the brewer and piston base.
- Savor Your Coffee
Your steaming cup of magnificent coffee is ready to be enjoyed!
The Inverted Method: A Unique Approach for Rich Coffee
The inverted method involves flipping the Aeropress, ensuring that the brewing liquid remains inside the device during the infusion phase. However, handle this inversion with caution, as flipping hot liquid demands care. Additionally, note that this method offers a more limited capacity, typically accommodating a maximum brew of approximately 200ml of water. Here's your guide to mastering the inverted Aeropress method:
- Weigh and Grind
Similar to the traditional method, start by weighing your coffee and grinding it just before brewing.
- Filter Insertion
Insert a filter paper into the filter holder and secure it onto the Aeropress brewer.
- Rinse and Preheat
As before, heat the brewer and rinse the filter paper with hot water.
- Partial Piston Insertion
Insert the piston about 2cm (¾in) into the brewer. Flip the Aeropress upside down and position it on a digital scale. Add your ground coffee.
- Water Temperature
- Boil fresh, low-mineral-content water suitable for coffee brewing. After boiling, wait for 10-20 seconds, then switch on the scale. Add your desired quantity of hot water to the Aeropress.
- Initiate the Timer and Stir
- Start your timer and stir the coffee, allowing it to steep for one minute.
- Prepare the Filter
- While steeping, detach the brewer from the scale and position the filter holder with the filter paper on top of the brewer. When inverted, the filter paper should adhere to the holder if it was rinsed.
- Stabilize and Flip
- Gently push down the top portion of the brewer onto the piston until the liquid approaches the filter. This action stabilizes the piston, preventing it from dislodging during inversion.
- Invert and Plunge
Once the steeping time concludes, cautiously flip the brewer and mug over, ensuring that the mug is atop the brewer. Gradually press down on the plunger until all the liquid is expelled into the mug.
- Cleanup: Empty and rinse the brewer, leaving it ready for your next brewing adventure.
